
You’ve carved away time in your day to write a blog post. An hour passes and all you have to show is a few jumbled sentences.
You convince yourself you just need an example or something to model your post after. That’s all! You click over to [insert name of any high DA, beautifully designed website that ranks for everything] for some inspiration and notice that in the past hour they’ve posted seven original blog posts. All in a different format. How do they make it seem so easy?
With 90% of content marketers leveraging websites and blogs the most in their content marketing strategy (Siege Media + Clearscope), there’s no question it deserves the time, practice, and effort to pursue.
Whether you’re a digital marketer working with an established brand or an entrepreneur trying to create an online presence, a well-crafted blog post can increase your visibility.
To help you save hours of aimless writing, we’ve created eight blog post templates to guide your content. While some of these are created with SEO optimization in mind, other templates are geared toward building your voice as a thought leader.
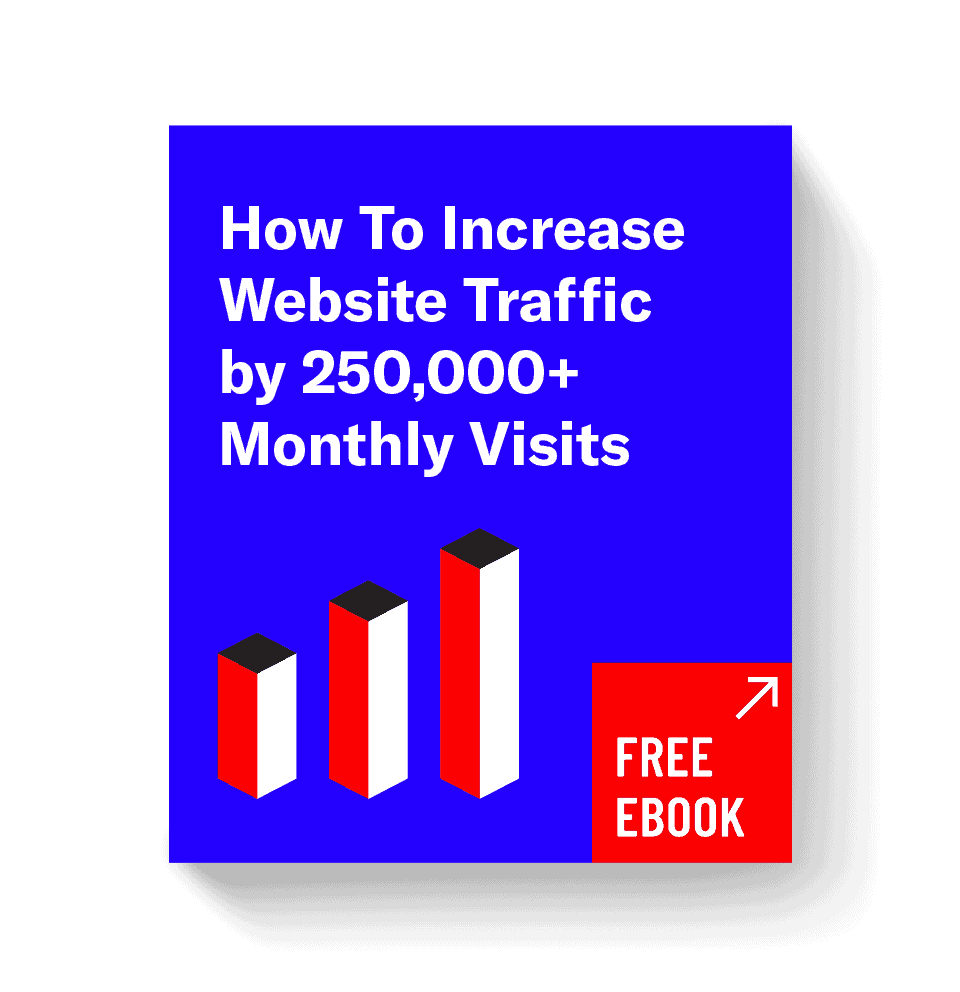
Regardless of your goal, these post structures have been proven to drive results. Our 110-person content marketing agency has helped over 10 clients generate 250,000+ visitors per month.
Read through to find how to choose the right type of post for your topic and how to properly structure it so you can generate similar results.
How to Choose the Right Post Type
Some topics have a clear post-type while others can be more of a gray area.
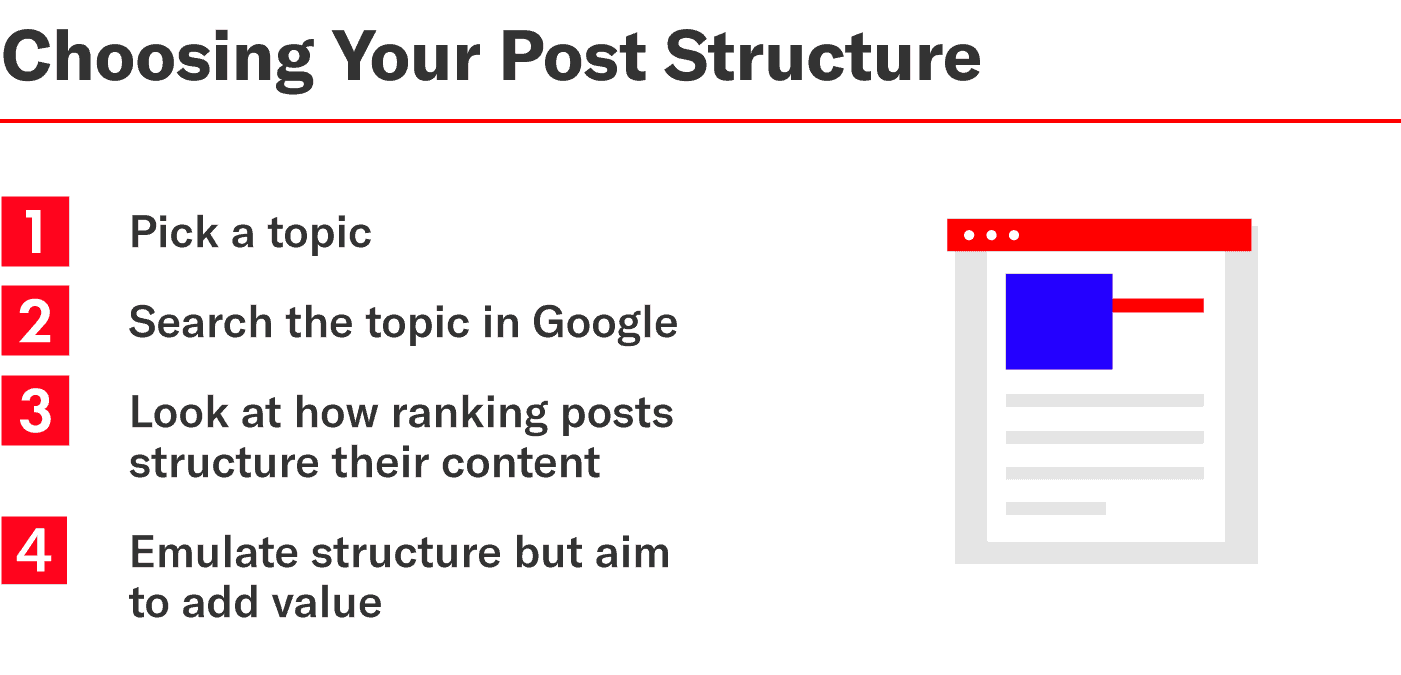
Once you’ve landed on a topic idea, you’ll want to look to Google to see what types of posts are ranking. Not only will this give you an idea of what’s needed to rank, but you’ll get a better understanding of user intent.
The search intent for some keywords are more obvious than others. For example, someone searching for “chocolate cake” is most likely looking for a step-by-step guide with a recipe. Looking at the chocolate cake SERP confirms this.
On the other hand, a keyword like “charcuterie board” is more vague. Are people searching for a board to buy or a tutorial on how to make one? If you can spell charcuterie correctly, the SERP will primarily show guides on how to make these boards. Based on this you’ll want to structure your content as a how-to post.
Once you determine the types of posts that are ranking for your topic, you can mirror the structure with one of these blog post templates.
Make Your Content Unique
Successful content isn’t templated. While these post templates can help you emulate the post structure that Google is valuing, you’ll also need to add your own creative elements to make the content unique. What you add between the H2s will differentiate you from your competitors and lead to more sustainable rankings.
There are endless ways you can add value to your content. Write about the topic from a new angle. Incorporate quotes from experts on the topic. Include unique custom photography. Add GIFs instead of photos. Provide printables that readers can use. And the list goes on. Differentiating your content with these value-adds will help you stand out from the sea of sameness.
Jump to:
- How-To Post Template
- List Post Template
- “What is” Post Template
- Case Study Post Template
- Survey Post Template
- X vs. Y Post Template
- Beginner’s Guide Post Template
- Infographic Post Template
1. How-To Post Template
As the name implies, a how-to post teaches you how to do something. This guide is typically broken down into simple steps that are easy to follow. The reader should be able to mimic the process themselves, without any outstanding questions.
This usually requires a combination of descriptions and photos. Using other visual elements such as animation or video can take your how-to post to the next level as well.
How-To Post Examples
A how-to post can be brainstormed for any industry. When deciding on a topic, consider what your audience would find beneficial. Does a product you offer need additional instruction on how to use? Is there a unique way to incorporate or showcase your product in daily life?
Here are some blog post examples of how-to posts in different industries:
- Floral: How to Arrange Flowers
- Cybersecurity: How to Remove Chromium Virus
- Construction: How to Start a Construction Company
- Finance: How to Host a St. Patrick’s Day Breakfast Without Breaking the Bank
- Travel: How to Make a Push Pin Travel Map
- Food: Donut Wall DIY and Styling Tips
What to Include in a How-To Post
How-to posts are structured with a title, introduction, materials needed, steps with photos and a conclusion.
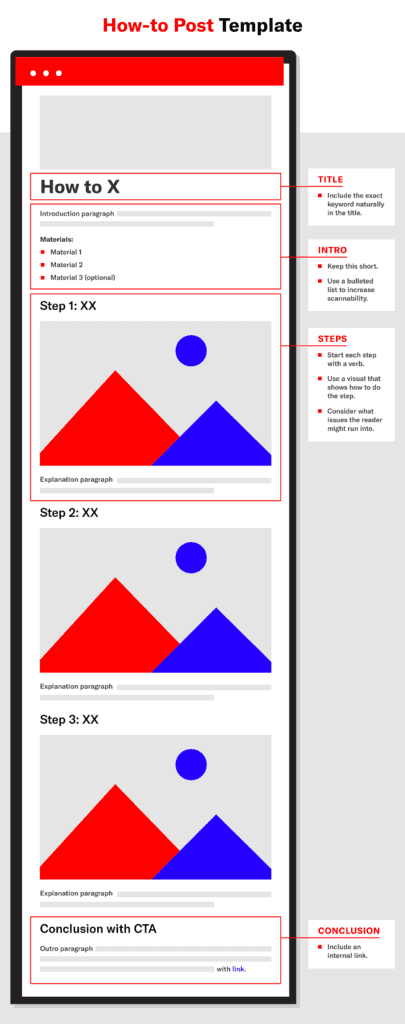
Title
The title of a how-to post will be structured “How to X.” The exact phrasing will depend on if you’re going after a keyword. If so, be sure to include the exact keyword naturally towards the beginning of the title.
Introduction
In the introduction, you’ll give a brief overview of the topic.
If the topic is straightforward like “How to Arrange Flowers,” you won’t need as much of an introduction. The person searching will want to get straight to the step-by-step guide and a long introduction could cause them to lose interest and bounce.
For topics that have more depth to them, such as “How to Remove Chromium Virus,” you may need a longer introduction. In this case, you’d want to take the time to explain what Chromium is and how to tell if you have the virus on your device.
In this intro, give an overview of what you’ll be teaching in the post. Be as specific as possible so readers know what to expect.
Materials
This will be a list of the supplies you’ll need to complete the tutorial. These materials should be formatted as bullet points so they are scannable. If you don’t need any supplies to complete the how-to, you can skip this section.
Steps
Next, you’ll create a numbered list of the steps. Each step should be formatted as a header and start with a verb so that it’s clear what action the reader should take.
- What not to do: Step Three: Plant Food Should Go into the Vase
- Correct version: 3. Pour Plant Food into the Vase
After the numbered step, add a paragraph of explanation. Elaborate on what should be done. What issues might the reader run into? What should they avoid during this step?
Photos
A photo will usually accompany each step. This helps demonstrate how you’re supposed to complete the action. You’re most likely speaking to a broad audience, with many different levels of familiarity on the topic. The more assets you can provide to help guide them, the better.
Conclusion
By the end of the steps, the reader should have finished what they set out to do. The conclusion is an opportunity to remind the audience of the new skills they have, thanks to your guide.
Conclude with a call to action. This could be a link to your product or a push to check out other guides on your blog.
How-to Schema
The how-to rich snippet on Google helps searchers easily find step-by-step information. To structure your information in a way that Google can use for this feature, be sure to add how-to schema markup to your post.
Download the free blog post template for a how-to post here:
2. List Post Template
Another common post type is the list post, also known as a listicle. The intention of this post is to share a curated roundup of inspiration that’s easily digestible for the reader. Rather than doing their own research on the topic, readers can find all the examples conveniently in one place.
List Post Examples
List posts are a great way to showcase product-related inspiration. Typically, a brand’s offering will be featured on the list or suggested in the CTA at the end.
Here are some examples of list posts in different industries:
- Wedding: 112 Wedding Cake Ideas & Design
- Home: 23 Hacks for Cleaning Your Pots and Pans
- Floral: 50 Plant and Cactus Puns for Your Inner Plant Lady
- Business: 21 Value Proposition Examples and Takeaways From Billion Dollar Companies
- Cybersecurity: 52 Key Cybersecurity Tips: Your Playbook for Unrivaled Security
- Holiday: 50 Festive Christmas Photo Ideas
What to Include in a List Post
List posts should include a title, introduction, numbered or bulleted list with photos and conclusion.
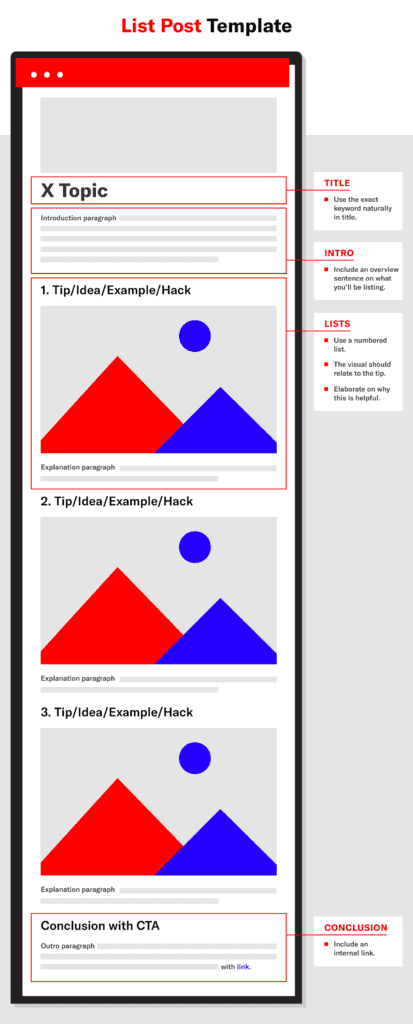
Title
The title will usually be formatted with the number first and then the topic.
Some common list title formats are:
- X ADJECTIVE TOPIC
- X TOPIC Hacks
- X TOPIC Ideas
- X Types of TOPIC
- X Ways to TOPIC
When choosing how many to include in your list, you’ll want to reference the SERP. If all the ranking posts have 50+ ideas and you only have 5, your post won’t get clicked on or have much of a chance ranking. On the other hand, more isn’t always better. Usually, people would rather look through 20 quality options rather than sifting through 200 mediocre ones. Be strategic when considering how many items to include.
Introduction
The introduction for list posts is usually pretty straightforward. Begin with a hook and then introduce the topic. If you organized your list into categories, explain this in the introduction.
Be sure to include a sentence that gives an overview exactly what you’ll be listing.
Example overview sentences:
- “Explore 50 fresh ways to make your family photo ideas shine this Christmas season.”
- “Here is a list of 21 value propositions from companies who have reached a valuation of $1 billion or more.”
- “The cybersecurity tips below cover awareness, basic safety, online safety, social media, data security, tips for remote workers, small businesses and considerations for CEOs and CISOs to keep in mind.”
List
Next, you’ll create your list. The list should be numbered or bulleted so that it can easily be scanned. If the list is longer than about 20, consider sectioning the items into groups or themes.
Try utilizing longtail keywords as H2s to divide your list. For example, this wedding cake ideas list is organized by season with longtail keywords like “wedding cake ideas for summer” and “wedding cake ideas for spring.”
Photos
If your list is shorter than 10, try to include a photo for every listed item. For longer lists, you can add a photo or graphic every 4-5 paragraphs to break up the copy.
Reference ranking posts in the SERP to see how many photos you’ll need to include. Depending on the topic, some posts will require a photo for every listed item, no matter the length.
Conclusion
Conclude the post with a call to action. How can the reader use this information in combination with your product offering? This is a good place to include an internal link.
Download the free blog post template for a list post here:

3. “What Is” Post Template
A “what is” post is an informational post that answers a question. This type of post should be chosen carefully. While it can be a good way to build brand awareness and become an authority on a topic, this type of keyword has one of the worst click through rates.
Readers don’t usually spend much time on “what is” posts because they are looking for a simple answer. When Googling this type of question, the user will usually find their solution in a quick answer box or the first result. Oftentimes, they don’t even need to click into the first ranking post because they receive an immediate answer.
“What Is” Post Examples
If you do decide to take on a “what is” post, try to pick a question that is more complex. If it needs more than a sentence to explain, you can build out your post around the question.
This will also give you the opportunity to rank for the base keyword (which usually has more search volume). For example, while going after the keyword “what is captcha” that has a search volume of 3,400 monthly searches you could also rank for “captcha” which has 46,000 monthly searches.
Examples of “what is” posts in different industries:
- Cybersecurity: What is Captcha?
- Finance: Social Currency: What Is It and How to Use it to Build Your Personal Brand
- Insurance: What is a Smart City?
- Business: What is Control Group and Why is it Important in Testing?
- Home decor: What is Feng Shui? An Interior Decorating
What to Include in a “What Is” Post
A “what is” post will have a title, short introduction, paragraph that answers the question, following paragraphs that elaborate on the topic and conclusion.
Title
The title of this type of post is usually structured as “What is X?”
Some other variations include:
- X: What it is and how to use it
- What is X and how to use it
- What is X and why it’s important
Introduction
The intro will give context to why someone would be looking up this question. You should be able to do this in 1-2 short paragraphs.
Paragraph That Answers the Question
Either in the introduction or after the first H2, you’ll want to directly answer the question. Do this as concisely as possible so you have a better chance to rank in the quick answer box. This will also provide the most value for the reader. If the information is provided in a clear structure, they will easily be able to scan and understand the content.
Explanatory Paragraphs
The following headers and paragraphs should elaborate on the topic. This is a good place to incorporate related questions or examples.
When writing these following paragraphs, consider the other W’s: Who, Where, When and Why.
Some questions to consider:
- Who benefits from X?
- When should you use/implement X?
- Where should X be used?
- Why is X the best option?
Conclusion
When you’ve fully explained the topic, you’ll want to conclude with a summary of the post. What did the reader learn and how can they apply it to their life? Include a CTA that has a link to your product or offering.
Download the free blog post template for a “what is” post here:
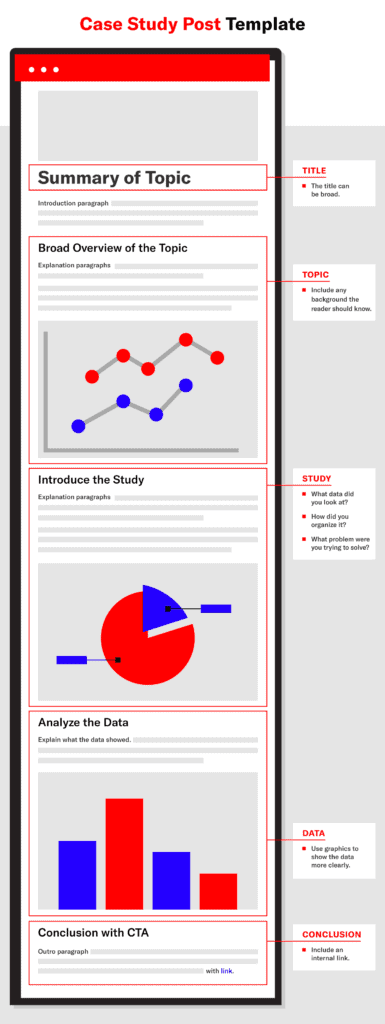
4. Case Study Post Template
A case study is a deep dive into a specific topic. This type of post should be backed up with data and include a comprehensive analysis.
When done correctly, a case study is highly linkable. If you can make clear and surprising claims based on the case study, the data can be picked up by news sites or repurposed by other bloggers.
Case Study Post Examples
By leveraging data in your industry, you can create a case study post. These take some time to build out, but they can gain passive links for months to come.
Here are a few blog post examples of case studies in different industries:
- Business: Emoji Marketing Data Study With Push Notification Trends
- Cybersecurity: 2019 Data Risk Report Stats and Tips You Won’t Want to Miss
What to Include in Case Study Post
A case study post has a broad overview of the topic, an introduction of the study, an analysis of the data and a conclusion.
Title
When writing a case study title you should summarize what the study is about. When doing this, consider what the reader will be able to take away from the post and why it’s worth their time.
Broad Overview of the Topic
The introduction will explain what the topic is. If it’s complex, spend a few paragraphs elaborating on any details you think the reader should know before continuing to the data.
Introduce the Study
Next, you’ll introduce the study. What data did you look at? What tools did you use? How did you organize it? Who were the key players involved? What problem were you trying to solve?
This is where you’ll be building your credibility. If there are any gray areas or the reader is confused by the process, the rest of the post won’t be believable. Be sure to spend time detailing your process. Have someone else who’s not involved with the study read it to ensure it makes sense to a fresh pair of eyes.
Analyze the Data
The next paragraphs will transition to the analysis section of the case study. What did the data show? Include the raw data and elaborate on what story it tells. Be sure to add photos or graphics to depict the results in a clear way.
Conclusion
Conclude with your main takeaways and a call to action. How can the reader use this information in their daily life? Should they alter their habits based on your results?
Download the free blog post template for a case study post here:
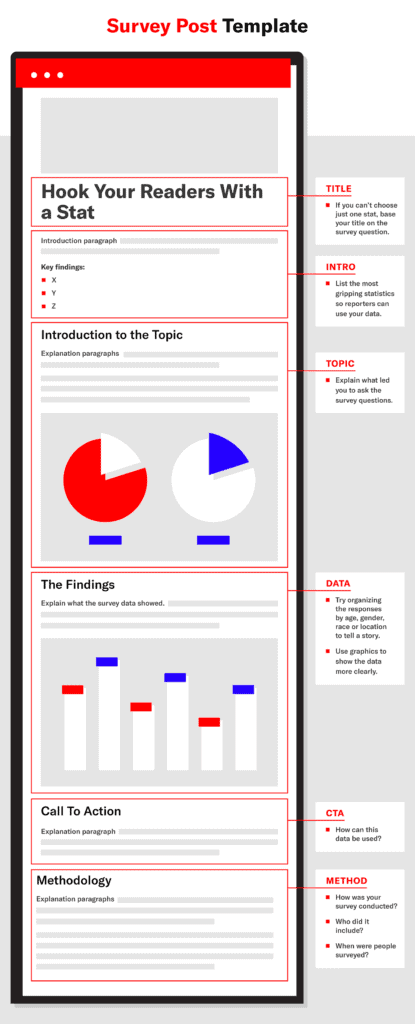
5. Survey Post Template
A survey post is similar to a case study, but the data isn’t as comprehensive. This type of post is based on polling the public through a survey platform like Google Consumer Surveys. The data from your survey can then be used to create a post.
Survey Post Examples
Survey posts usually provide clickable titles with surprising statistics. The surveys that are the most shareable are the ones that have an emotional tie. Readers can relate to the topic and want to pass it on to others who might find it relatable as well.
To give you an idea of what a survey post looks like, here are a variety of examples:
- Travel: One-Third of Drivers Only Clean Their Can Once a Year
- Insurance: 66% of Americans Aren’t Friends with their Neighbors
- Construction: Survey: Can Americans Recognize Cities without Their Skyscrapers?
- Finance: Survey: Would you Prefer Cash Over Presents for the Holidays?
- Retail: America’s Dirty Laundry: 45% of Americans Wear Underwear for Two Days or Longer
Which one made you click to learn more?
What to Include in Survey Posts
A survey post typically has an introduction to the topic, the findings, graphics to better explain the data, a call to action and the methodology.
Title
The title of a survey post is the hook. In most cases, the title should proclaim your most intriguing stat. You can see above that the examples show a variety of stats in the titles.
In some cases, it will be more interesting to title your article based on the survey question you asked. If this is the case, readers will click on the title to see if their answer is the correct one. For example, in a post on if you prefer cash over presents during the holidays, the reader would click on your article to see if their answer is the same as the people surveyed.
Introduction
This will provide a little insight into the topic and explain what led you to ask these questions. Why should people care about the topic?
The introduction can also include an overview of key findings. If you decide to include this, create 3-5 bullets of the most interesting and surprising data. Putting these stats at the top of the post makes it easy for new sites or researchers to pull your findings and quote them.
The Findings
In the following paragraphs, you’ll go in-depth on your survey results. Try elaborating on the initial findings by organizing results by age, location, race or gender.
Graphics
To make your data more digestible and shareable, turn the most interesting findings into graphics. These will be helpful for those who just want an overview of the topic and don’t want to read in-depth about your discovery.
Conclusion
Once the findings are highlighted and explained, make a call to action. What can the reader do with this information? Should they change their actions based on your survey? What lessons can be derived from these statistics?
Methodology
Last but not least is the methodology section. This should sum up how and when your survey was conducted.
Some questions to answer in the methodology section:
- What platform was the data collected on?
- How many people were surveyed?
- Who was surveyed?
- When was the data collected?
- Was post-stratification weighting used?
- Was there a margin of error?
Download the free blog post template for a survey post here:
6. X vs. Y Post Template
An X vs. Y post is an article that compares two items. Usually, the reader is trying to choose which item is best for their situation, so they want to see a side-by-side comparison to help them decide.
These comparison posts are a great way to highlight why your product or offering might be better than the competition. People searching this type of term are likely in the interest or even consideration phase of the marketing funnel, so the right argument could sway them to purchase your offering.
X vs. Y Post Examples
The X vs. Y posts are formatted with a similar structure. They specify two topics, describe each, then compare them side-by-side.
To give you an idea of X vs. Y posts, here are some examples from different industries:
- Beauty: Fragrance Oils vs. Essential Oils
- Food: Bourbon vs. Whiskey: Understanding the Difference Between Dark Sprits
- Cybersecurity: Tor vs. VPN: What They Do and Which is Better
- Technology: MMS vs SMS: How Are These Messaging Services Different?
What to Include in an X vs. Y Post
An X vs. Y post will have an introduction, explanation of what X is, pros and cons of X, what Y is, pros and cons of Y, a side-by-side comparison and a conclusion on which you should choose.
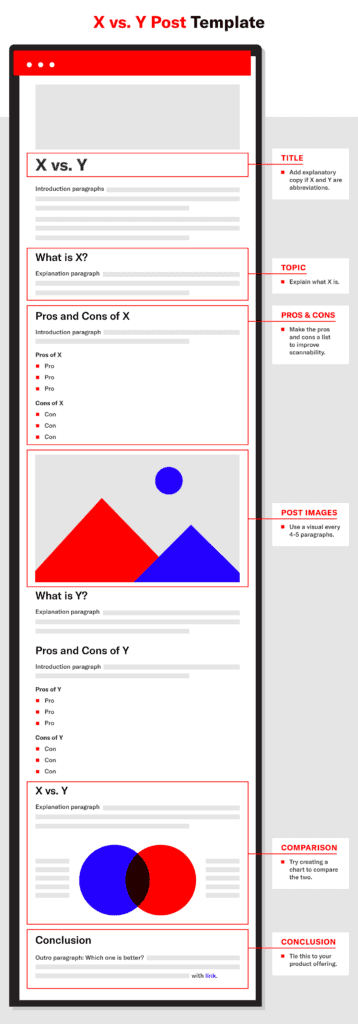
Title
The title of this post will be “X vs. Y.” If the terms are abbreviations or don’t make sense on their own, add explanatory copy for context. For example, the title “WPA vs WPA2: Which WiFi Security Should You Use?” clarifies that the post will be discussing wifi security.
Introduction
Start by giving an overview of the topic and providing context on why someone would be comparing the two items. Keep this section short so that the reader can quickly get to the comparison.
What is X
The next paragraph typically has an H2 that reads “what is X.” This is a good way to target related keywords that will also have decent search volume.
The first sentence of this paragraph should answer the question directly. Here you explain, “X is…” and then elaborate.
Pros and Cons of X
After explaining what X is, you’ll go into detail about the cost and benefit of using X. It could be helpful to break this into two sections. One would be titled, “Pros of X” with a bulleted list and the other would be titled “Cons of X” with a bulleted list.
What is Y
Once you’ve fully explained X, you can move on to Y. Use the H2, “What is Y.” Then answer the question directly and add additional details to fully explain Y.
Pros and Cons of Y
Here you’ll list the costs and benefits of using Y. Use a bulleted list so that the section can easily be scanned.
X vs. Y
Now that you’ve detailed each item, it’s time to compare the two. The best way to do this is in a chart with qualifications. For example, in this post comparing king vs. queen bed sizes, both the images and charts consider relatable visualizations, dimensions, prices, and pros vs. cons. Comparing these factors helps the reader decide which option is best for them.
Conclusion
If there is one option that’s better for everyone, state this in the conclusion. If the best option depends on the situation, sum up which option is better for which type of person.
Download the free blog post template for an X vs. Y post here:
7. Beginner’s Guide Post Template
A beginner’s guide explains a technical topic to someone who isn’t familiar with it. This post format is a great way to explain your offering to a new demographic and highlight why it’s beneficial to them.
If your product or offering is straightforward, try brainstorming tangential topics that could be helpful for your audience to understand. For example, if you’re a travel site that typically writes travel guides, a beginner’s guide to budgeting for a trip could introduce your brand to a new audience.
Beginner’s Guide Post Examples
A beginner’s guide will be a comprehensive look at a topic. You’ll have some flexibility on formatting this.
For reference, here are some guides from different industries:
- Cybersecurity: Senior’s Complete Guide to Internet Scams
- Streaming: A Parent’s Guide to Streaming Services
- Finance: Ultimate Guide to Taking Your Dream Gap Year
- Travel: Step-by-Step Guide to Traveling With a Disability
- Pet: Dog Poop 101: What It’s Telling You and What to Do
- Business: What is Link Building?
What to Include in Beginner’s Guide Post
A beginner’s guide will have an explanatory title, introduction to the topic, background information, deep dive into the topic, how the reader can use this information and a conclusion to sum it up.
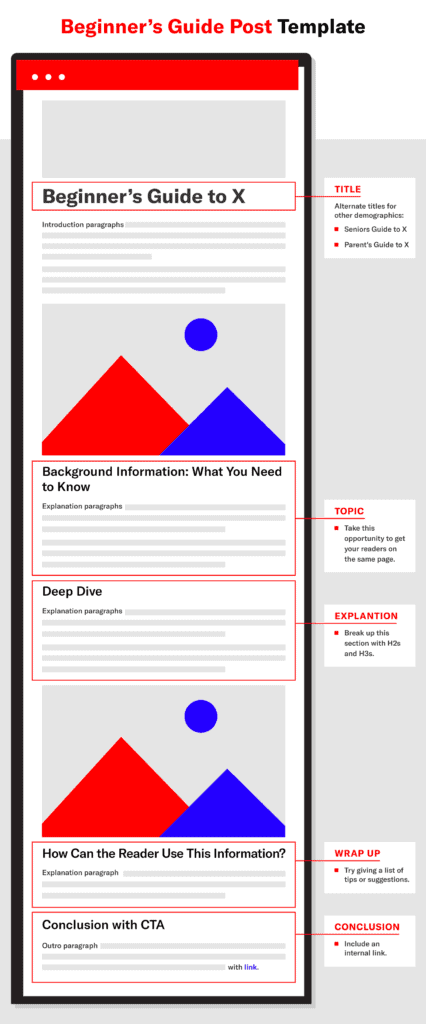
Title
The title of this type of post is usually structured as “Beginner’s Guide to X.” If you are targeting a specific demographic it could be formatted as “X’s Guide to Y.”
Intro to the Topic
In the intro, you’ll want to consider how much your audience already knows about the topic. While this is a beginner’s guide, they might already have some familiarity with the topic.
Background Information: What You Need to Know
This section is meant to get all your readers on the same page. While some might already know a little about the topic, others could be clueless. To create even ground, give background information that the reader should be aware of before continuing onto the topic.
Deep Dive
Now that the readers have base knowledge, you can take an in-depth look at the topic. What is the purpose of this article? What do you want your reader to learn?
Break this section into different parts with H2s to help guide the reader. It can be helpful to reference ranking posts and related keywords to ensure you’ve included as much useful information as possible.
How Can the Reader Use This Information?
After you’ve fully explained the topic, you can transition into how this information can help the reader. This can be formatted as a list of tips or suggestions.
Conclusion
Conclude by summarizing what the reader should now know. Include a CTA and link to a service or related guide on your website.
Download the free blog post template for a beginner’s guide post here:
8. Infographic Post Template
Infographics have a bad reputation. With mediocre design, poor linking and off-topic ideas, infographics can hurt your blog strategy. On the other hand, if you target useful topics and create shareable designs, infographics can be a game changer.
Here are some questions to ask yourself when deciding if an infographic is right for your blog:
- Does the topic benefit from a visual representation?
- Will an infographic provide useful information that others will want to share?
- Do you have the resources? Whether that’s access to a design team that can create a stellar infographic design or the time and skills to make your own.
Infographic Post Examples
Some infographic posts are structured with a short introduction and then an infographic. These are created to be shareable and can help you build links to the site.
Other posts have an infographic added on to one of the blog post templates mentioned above. These are aiming to rank for a keyword and build links to the site.
Look through these blog post examples of infographic posts in different industries:
- Travel: 19 Places for Your First Romantic Road Trip
- Insurance: How to Make Friends as an Adult
- Human Resources: 13 Video Interview Tips for a Job-Winning First Impression
- Construction: The Costs of Building Iconic Pop Culture Structures
- Lifestyle: The Power of Eye Contact
- Floral: The Perfect Air Purifying Plants for Your Space
What to Include in an Infographic Post
As you can see there are a few ways to structure infographic posts. We have a simple infographic blog post template, but you can adjust based on your blog style and goal.
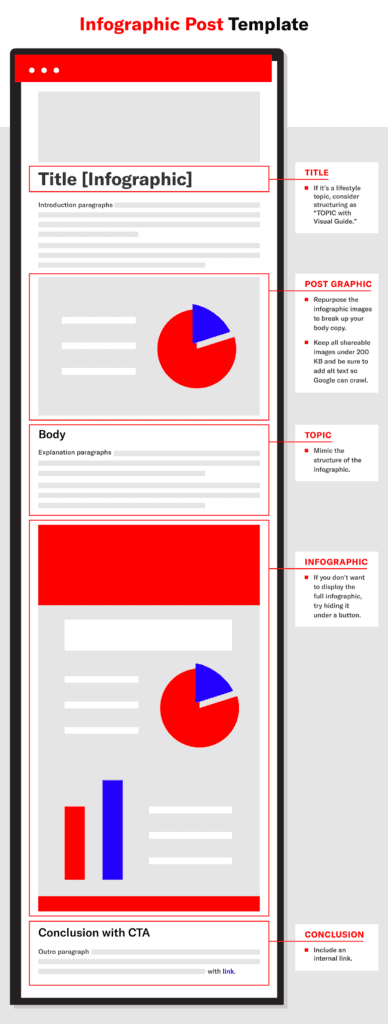
Title
The title of your infographic post should describe the topic. Depending on your industry, you may decide to feature your infographic offering in the title.
For more technical industries like business or finance, structuring it as “TITLE [INFOGRAPHIC]” could make the post title more clickable. When writing for lifestyle industries, switch the wording so it says visual rather than infographic. For example, “TOPIC with Visual Guide” could tell your readers that there’s an additional asset.
Introduction
This should have a hook that pulls the reader in. Then include background information on the topic and why it relates to your reader.
If you are creating a full post with the infographic at the end, it could be helpful to include a page jump-to that takes the reader quickly to the infographic. This way, those who want an overview can quickly jump down without having to scroll all the way down.
Body
If you are solely trying to create a linkable asset, the body of your infographic post may be on the shorter side. That said, you want to avoid creating thin content. The more additional information you add, the more valuable the post will be to a reader.
Not sure what to include? Try structuring this section in the same format as your infographic. Instead of concise bullet points like your infographic features, elaborate on the topics. This way those who have additional questions can look to the body of the post for answers.
Infographic
Next comes the infographic. When uploading your infographic, be sure it’s sized properly. It’s best practice to keep all shareable images under 200 KB. Larger images will decrease your site speed, causing your bounce rate to increase.
Be sure you are adding alt text to all your images, including infographics. Not only does alt text improve accessibility by helping those visually impaired, but it helps Google crawl your content.
Conclusion
End your post with a call to action. What should the reader do with the information you provide? This is also a good place to encourage the visitor to share the infographic if they found it helpful.
Embed Code
If you are promoting your infographic through outreach, you may want to provide a code for blogs to embed your visuals on their website. If this is the case, use an embed code generator to create HTML code.
Download the free blog post template for an infographic post here:

Adjust the Templates to Fit Your Needs
Using these blog post templates is a great way to get you started, but don’t feel confined to them. We’ve given you the tools you need to create a quality post but your blog writing is the secret sauce that’s still missing.
There is no one size fits all when it comes to content. Blog post ideation, style and design is ever-evolving to keep readers interested and engaged. Get creative with these templates and apply them to whichever industry you’re in.
For more insight on content that drives results, subscribe to the Siege Media blog.