Start your blog entry off right with a powerful, thoughtfully crafted outline.
What is a Blog Post Outline? A blog post outline is a document that helps you organize your ideas before you begin writing a post.
Sure, as content marketers we all wish our muse would arrive and set our typing fingers flying across the keyboard at warp speed. But if everyone waited for those moments (or relied solely on AI inspiration), well, we probably wouldn’t have much to read.
In fact, content marketing budgets are increasing in 2025 – 88.2% of businesses expect budgets to grow or stay the same, up from 54.5% in 2024 – which means there’s more competition (and opportunity) than ever to produce great content.
If you write content for your own website or you’re a professional content marketing specialist tasked with creating traffic-driving posts for clients, you’ve probably found yourself either unable to start writing a post or stuck with writing that justdoesn’t work.
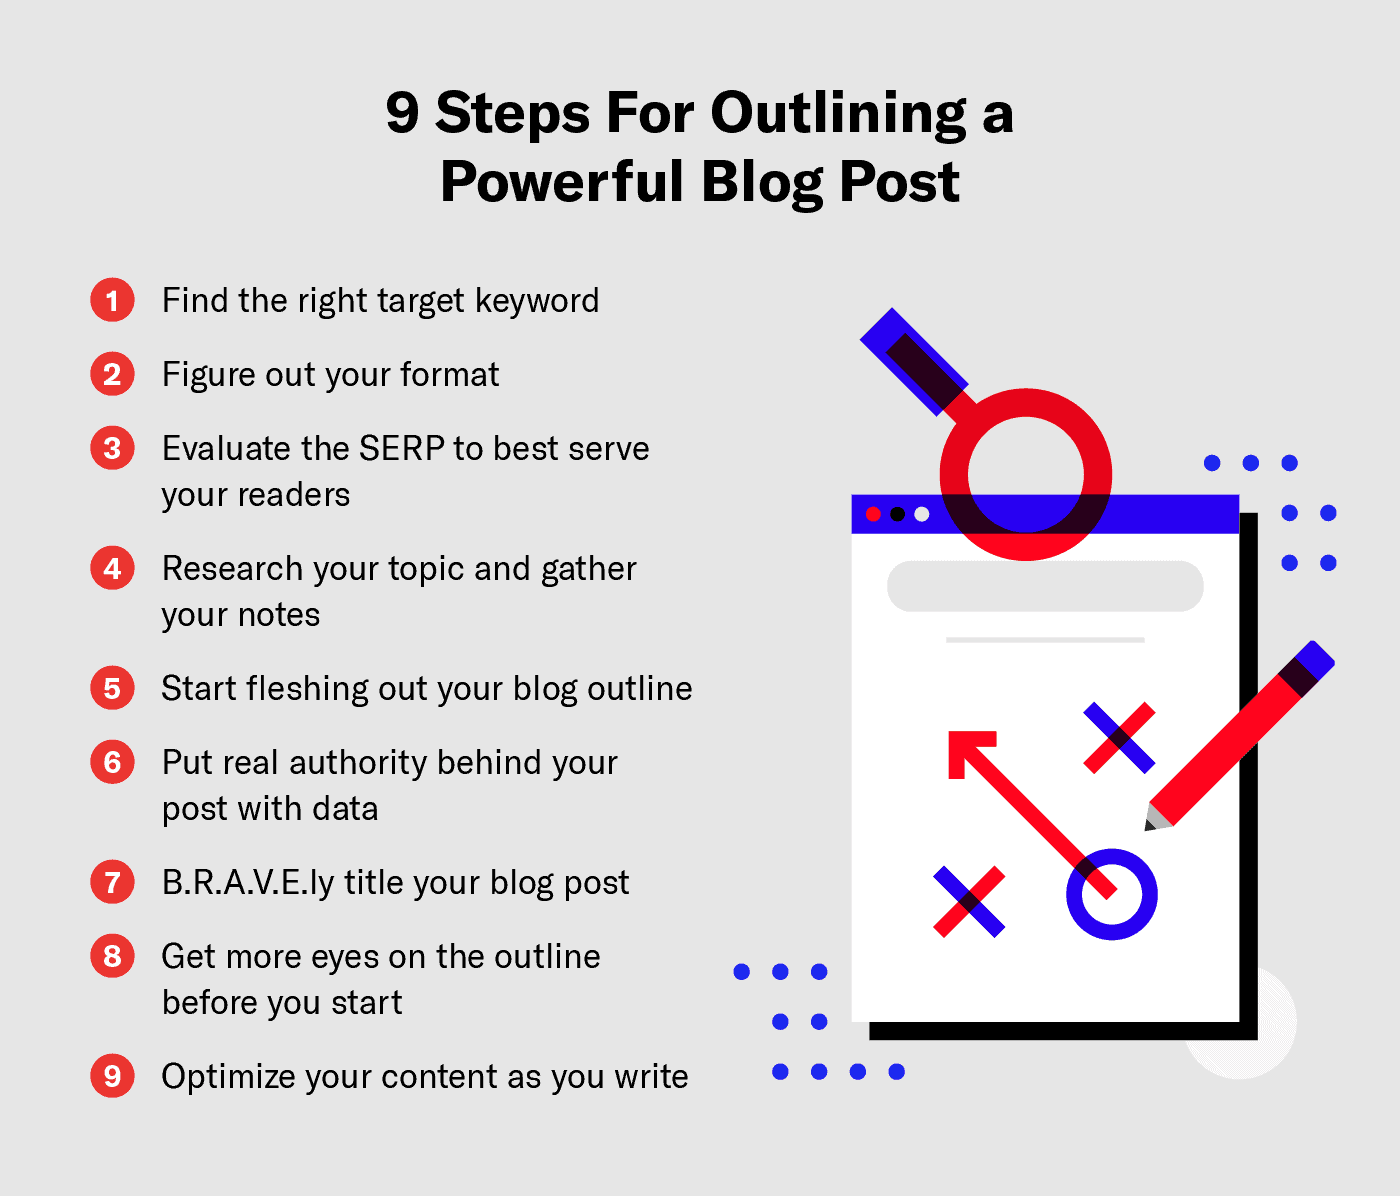
How do you avoid either of these problems? With a blog post outline. And lucky for you, we’ve pared down how to approach this in 9 easy steps:
- Find the Right Target Keyword
- Figure Out Your Format
- Evaluate the SERP for Readers
- Research Your Topic, Gather Notes
- Start Fleshing Out Your Blog Outline
- Secure Authority Through Data
- B.R.A.V.E.ly Title Your Blog Post
- Get More Eyes On the Outline
- Optimize Your Content as You Write
- Downloadable Blog Outline Template
1. Find the Right Target Keyword
The process of creating any outline should start with your keyword research. But instead of jumping right into looking for specific keywords, think about your reader.
If you’re writing content for your own business, you probably have a pretty good idea of what your existing and potential customers are looking for. Jot down a few of the main ideas you think people would search for to start your preliminary list, including questions, brand or product names, and even comparisons.
Then, double-check that your intuition is correct.
- Drop some of the questions your customers might have into a search engine to confirm.
- Does the SERP match the big idea that you want to write about?
- If the SERP displays something unrelated to your big idea, try a different search until you find what you’re looking for.
Once you’ve found a good target keyword, start building a list of other keywords. Don’t worry about search volume for any of these terms yet — just create a list of keywords that you think will work.
After building your list, plug the keywords into a search tool like Ahrefs. That will provide you with search volume and related terms that you might have missed.
For your target keyword, make sure you examine the top-ranking pages — they will likely have some crossover with the list you’ve built, but they might have some additional keywords you’ll want to work into your content.
Many content marketers also use AI tools to surface related topics and questions at this stage, but remember to verify any AI-suggested keywords against real search results for accuracy and relevance.
Don’t Forget To Check the Search Suggestions: Answering any of those questions in your post could help you land a featured snippet
With your full list of keywords completed, start prioritizing them. If your target keyword has a lot of competition from domains with higher authority, consider shifting the focus of your post to align with a lower-difficulty keyword.
If you’re stuck or feeling a little overwhelmed by the technical side of keyword research, ask yourself:
- What do I want my readers to get from this article?
- What can I offer them that no one else can?
By putting the needs of your readers first, making decisions about which keywords to use will be significantly easier.
2. Figure Out Your Format
There’s no such thing as a format that works for every kind of content. Some content has an obvious shape: if you’re talking about a process (like outlining a blog post), a how-to is the way to go.
If you are comparing your product to a competitor’s, there’s a format that works for that, too. Whatever you’re writing about, there’s a blog post format that will best serve your readers.
Modern content comes in many forms, and in 2025 it’s important to choose the format that aligns with user expectations. For example, a “How-To” post works for step-by-step processes, a list post is great for sharing a collection of ideas, and a “What Is” post quickly answers a definition or question.
If you are covering industry survey results, maybe a case study or survey post format makes sense; if you’re highlighting a product comparison, a “X vs. Y” format might be ideal.
Keep in mind that Google’s algorithms – and even AI search overviews – often favor content that matches the intent of the query. So, look at what formats the current top results are using.
If all the top results for your keyword are listicles, a list post is likely the expected format. If they’re step-by-step guides, a how-to format is a safe bet. Aligning your format with what readers (and search engines) want to see is a smart early move.
| 7 Powerful Blog Post Formats [and When To Use Them] | |
|---|---|
| How-To Posts | When To Use ItWhen you need to teach a reader how to do something step by step. |
| List Posts | When To Use ItShare lots of great ideas in one place with a curated list. |
| “What Is” Posts | When To Use ItFor when you need to answer a question or define a term quickly. |
| Case Study Posts | When To Use ItFor comprehensive deep dives into a subject with thorough data analysis and linkable claims. |
| Survey Posts | When To Use ItFor less comprehensive case studies using data you gathered from customers or the public. |
| X vs. Y Posts | When To Use ItWhen highlighting what makes your product or service better than a competitor’s. |
| Beginner’s Guide Posts | When To Use ItWhen introducing technical topics to a new audience with this kind of post. |
3. Evaluate the SERP for Readers
Now that you have your target keyword and you know which format you’re going to use, it’s time to start building the actual structure of your outline.
At Siege, we evaluate blog posts on a SERP by looking at their post structures and readability.
Look at how the top-ranking posts are structured and evaluate them based on:
- How easy the blog post examples are to read
- How quickly they answer the question posed by the keyword
- How well the title tags and meta descriptions line up with the search intent
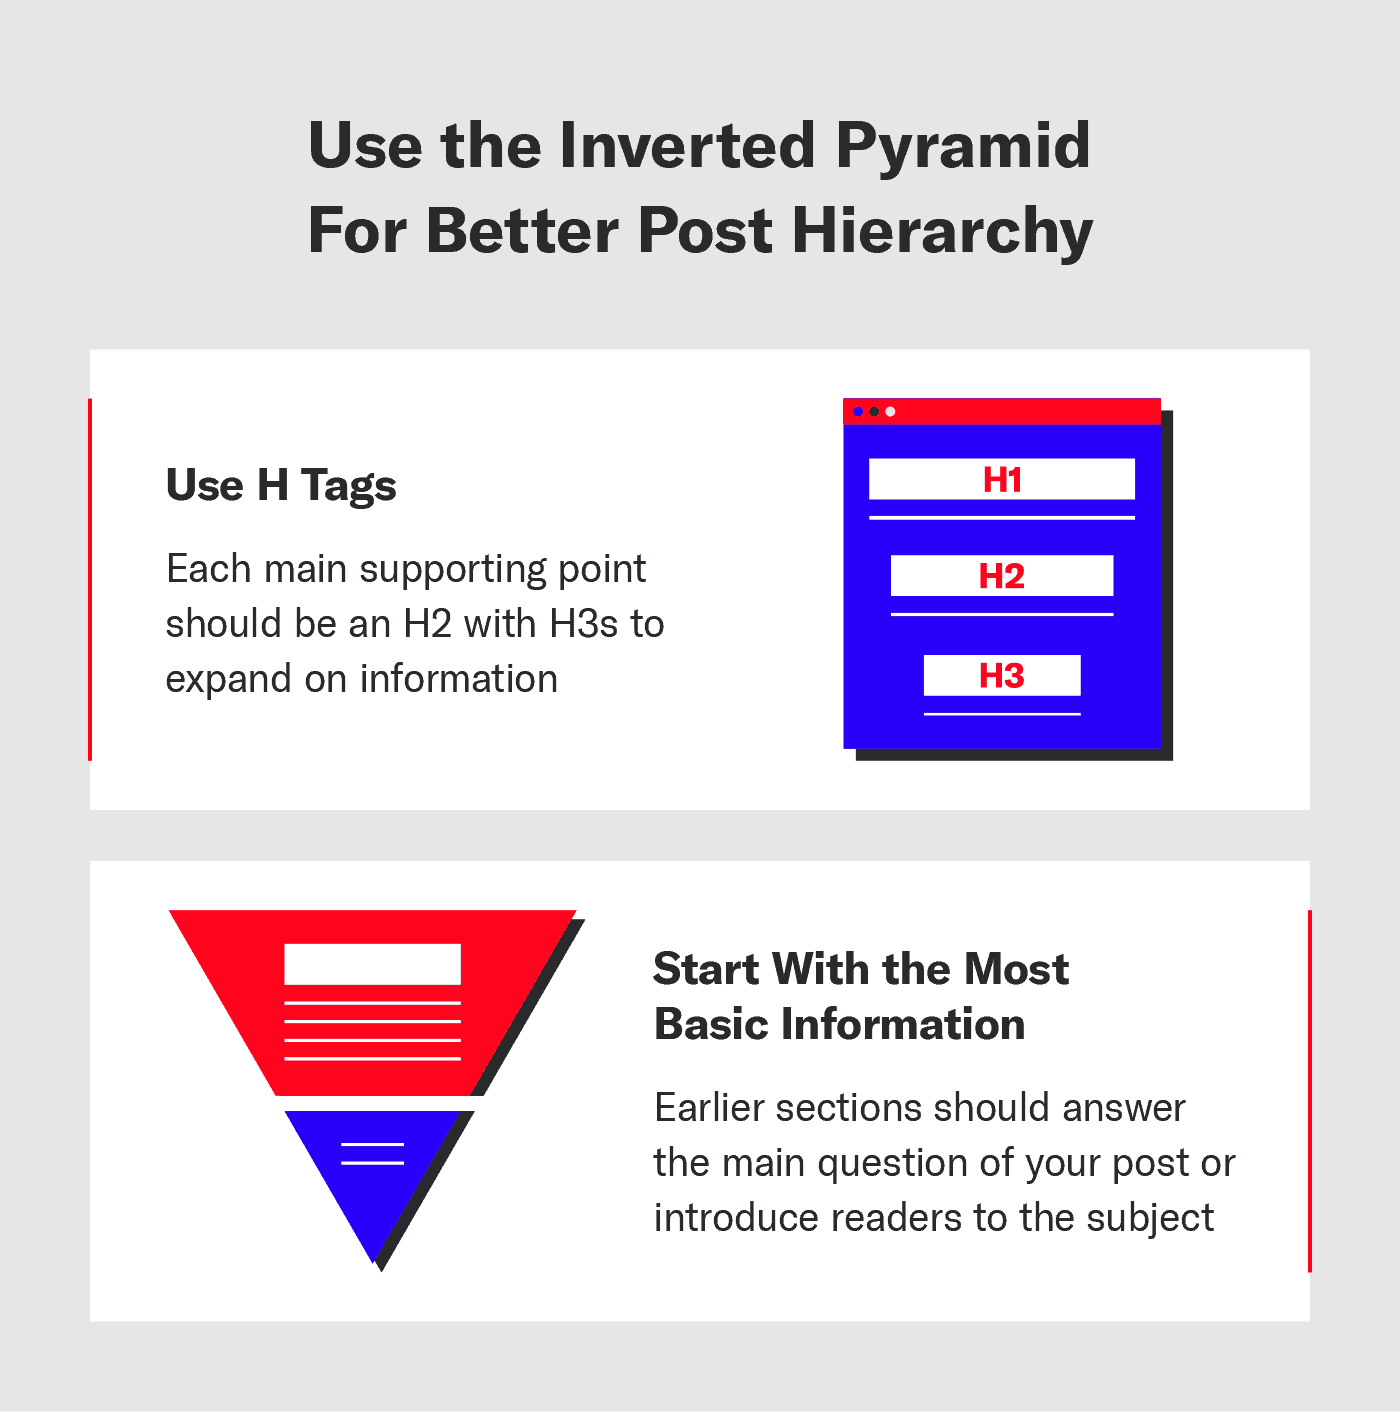
Once you examine the ranking posts, you can start structuring your outline. One of the best ways to do that is by using the inverted pyramid method.
With the inverted pyramid, you start with the most general information a reader needs to know and then get more and more specific as you go. In terms of structuring your post around this method, it should look something like this:
- Title (H1) – grab attention and include the main keyword if possible.
- Introduction – quickly answer the primary question or define the topic to satisfy immediate intent.
- Background (H2) – general background info (with supporting details under H3 if needed).
- Specific Point 1 (H2) – key subtopic or step (elaborate under H3s with examples or data).
- Specific Point 2 (H2) — next subtopic or step (with H3 details).
- Conclusion – wrap up and provide next steps or additional resource links.
By keeping everything organized in this way, your post will be scannable. And the easier a post is to read, the more likely a reader is to finish it.
For 2025, aligning your outline with search intent is absolutely critical — 70.6% of content marketers cite “meeting user/search intent” as a top challenge.
We’ll talk about how to fill out your outline in Step five.
4. Research Your Topic, Gather Notes
With your structure in order, you can begin researching and compiling your notes.
If you’re already a subject matter expert, drop facts, statistics, and other interesting ideas into a notes document until you feel like you can tell a full story with what is in that doc.
Start to plug that information into your outline. You’ll notice that some data may surprise you — feel free to add to your outline and adjust accordingly. If you’re new to a subject, read as much about the topic as you can (and make sure those sources are credible).
Lastly, round out your research with our V.I.N.E.S. method. V.I.N.E.S. is an acronym for more out-of-the-box research techniques to not only match the SERP but outperform your competitors.
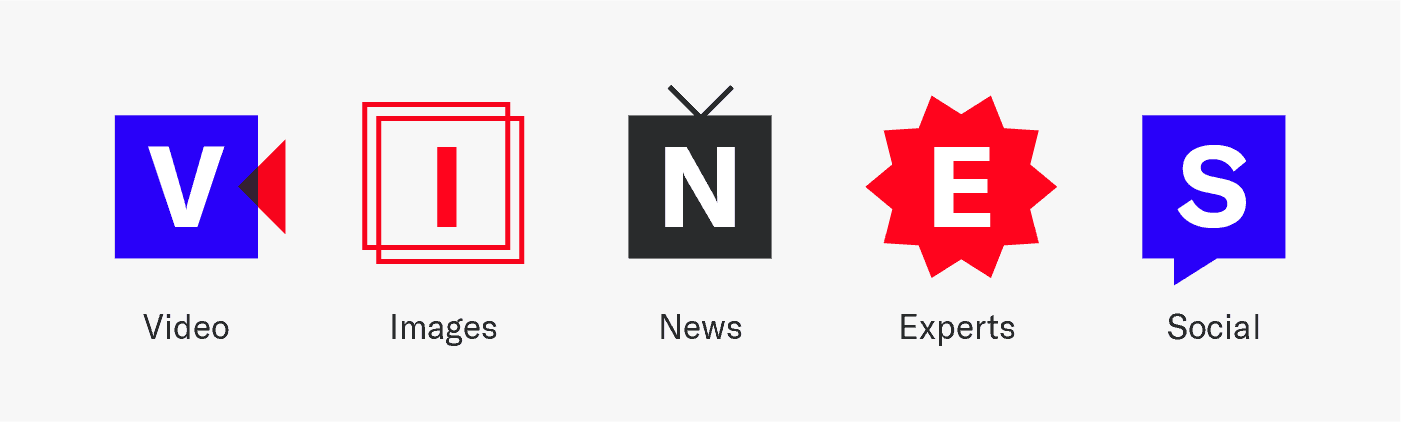
- Video: Look up your keyword on YouTube to find gaps in search intent. What are people on YouTube talking about that isn’t mentioned in articles? Can you look at the comment section to uncover new questions?
- Images: Check the “images” tab in Google. Are the images illustrative or decorative? Do they help visualize a concept?
- News: Look at the “news” tab in Google. Are there any surveys or data studies you can use? Is this a trending topic?
- Experts: Follow industry experts on social media, read industry blogs or subscribe to newsletters for thought leadership. Note that this is most valuable in B2B or business industries.
- Social: Search your keyword on Reddit, Pinterest, Etsy or Twitter to see what’s fulfilling the user’s search intent. Note that this is most valuable in B2C or lifestyle industries.
If you’re interested in learning more about V.I.N.E.S. and other actionable creation tips, visit our post on how to write SEO-friendly content here.
In 2025, you also have AI tools at your disposal to assist in research – for example, you might use an AI assistant to summarize a long report or generate a quick list of subtopics you might have missed.
Just be cautious: always verify AI-provided information with reputable sources. The goal is to gather accurate, up-to-date insights to enrich your outline.
With content marketing investment on the rise (11.4% of content marketers plan to spend over $45k per month on content in 2025, nearly triple the 4.1% from 2024), taking the time to research thoroughly is a wise investment. More data and insight up front means a stronger outline and less rewriting later.
5. Start Fleshing Out Your Blog Outline

Once you feel like you’ve got a good grasp on the subject, use your notes to fill the outline. Here’s a rough idea of what each section should include, as well as how long these sections should be.
Introduction:
Add bullet points that include the number of paragraphs you should use, your target keyword, a link to a related post, and a jump menu of table of contents.
Body Sections
Include a rough paragraph count, long tail keywords and the number of paragraphs per section. Add H3s to break up longer sections and include ideas for images as build out these sections.
Include ideas for visuals or even interactive elements (images, charts, infographics, maybe a short video) to enhance these sections, since content with interactive or visual elements tends to perform better (44.4% of marketers who leverage interactive content report success, versus 39.9% who don’t).
Conclusion
In the last section (a paragraph or two should do it), include your target keyword and wrap up the post with internal links to content that will help readers expand their knowledge of the subject.
Unsure about your outline? Return to some of the top-ranking posts for your target keyword to get a sense of what readers expect.
Instead of mimicking everything you see on competitor posts, think about why they structured them the way they did. Ask yourself questions like:
- Does the post answer the question quickly?
- Is this laid out in a way that makes sense?
- Is there a clear hierarchy that properly uses headers?
- Is all of the information on this page necessary?
If you make improving the reader’s experience your main priority, you’ll stay on the right track.
Remember, a huge portion of content marketers (71.7%) use AI to help outline and brainstorm posts – it’s a smart way to generate structure quickly. You can let an AI tool suggest a possible outline or list of subtopics to cover based on your keyword research.
Just use these suggestions as a starting point and refine them with your own expertise. By combining AI efficiency with your human insight, you can flesh out a comprehensive outline faster while ensuring it remains unique and valuable to your audience.
Bonus: this can help with the dreaded blank page syndrome – no more staring at an empty doc wondering where to begin!
6. Secure Authority Through Data
After you’ve solidified the general shape of your post, add specific data or information where it will best drive home your points.
Using good data combined with your own expertise will bolster your E-E-A-T (Experience, Expertise, Authority, and Trustworthiness) and ensure your idea will stand up to the scrutiny of your readers.
It’s worth noting that Google’s emphasis on E-E-A-T has grown in the age of AI-generated content; the search giant is doubling down on authentic, experience-backed content amidst an abundance of mass-produced info. In other words, showing real expertise and evidence in your outline (and eventual article) is more important than ever for 2025.
What is E-E-A-T? It’s a framework Google uses to determine the quality and authenticity of the information on a page. It isn’t a ranking factor, which means that it isn’t directly contributing to how a page ranks, but these characteristics are being evaluated to surface content that will be most useful to readers.
Using your own data also builds your credibility in the eyes of readers and search engines. The internet is full of excellent sources of data, so even if you think you have enough, browse for a bit longer.
You might find the evidence that helps unite your ideas together. Some concrete and trustworthy sources you can use to start your search include:
- .gov sites
- .org sites
- .edu sites
- Statista
To make this part of the outlining process go quickly, use bullet points with hyperlinks to the evidence.
For instance, under a specific H2 you might write “Add stat about X: YY% of marketers saw ABC outcome in 2025” with the link to the source.
When you go to write the post, you’ll discover exactly where your facts and data will fit. Having them built into the outline will remind you to include them and direct you back to the focus of the post.
By securing authority through data in your outline, you’re essentially fact-checking and strengthening your argument upfront. This not only improves the quality of the final content but also can make the writing step faster (since you won’t break your flow to hunt for numbers later).
In the end, an outline rich with evidence and insight sets you up to write a piece that commands authority and trust – something that both readers and Google will appreciate.
7. B.R.A.V.E.ly Title Your Blog Post
Titles have a bad habit of constricting an idea, usually before it even starts picking up speed. Let your ideas and the data create the shape and then write a title that sums it all up.
To keep your title (and your title tag) as optimized as possible, we recommend being B.R.A.V.E.. This handy acronym will remind you to include one or more of the key elements that are likely to make someone click on your post when they see it on a SERP.

- Brand: If you have a well-known and respected brand, use the name in the title tag.
- Recentness: Including a year in the title shows readers that the content is new or has been recently updated.
- Amount: Use numbers to be competitive with other results on a SERP.
- Velocity: Save time for readers with free downloads or guides.
- Economy: When you have the best price or want to compete with those who do, mention price.
While every good title and title tag doesn’t (and probably shouldn’t) include each of these elements, using the ones that make sense for your post will set you apart and give readers more incentive to click on your content.
Content Outline Tip: Stuck trying to find the perfect title? Keep a list of them in your notes document and choose the one that best introduces the post after you’ve written it.
8. Get More Eyes On the Outline
If you have other people on your team, ask them to look over your outline before you start writing.
Whether they’re subject matter experts or just fellow content enthusiasts, they should be able to spot any glaring omissions, confusing sections, or logical gaps. Getting feedback early – before you’re deep in the writing process – can save you a lot of frustration and rewrites down the line.
Remember, your blog post outline isn’t chiseled into stone — it should be a living document that expands and contracts in order to help you create the best version of your writing possible.
In collaborative content teams (which are increasingly common as content budgets grow and more departments get involved in content marketing), it’s helpful to use cloud documents or editorial tools so multiple stakeholders can comment.
At Siege, for example, every in-house writer sends their outlines to a content lead for review before drafting. This extra set of eyes ensures the outline is on point and can even inspire new ideas or angles you hadn’t considered.
In 2025, many content teams are remote or distributed, so leveraging tools like Google Docs, Notion, or Confluence can make sharing outlines easy. If you’re a solo content creator, consider asking a peer in your network to do a quick review. An outside perspective can catch things you might miss because you’re too close to the material. It’s much easier to reorganize or clarify points in the outline phase than after you’ve written 2,000 words.
Bottom line: don’t be afraid to get feedback. A stronger outline means a stronger final post. Plus, discussing the outline with others can get you (and your team) more bought-in on the approach before the heavy writing begins.
9. Optimize Your Content as You Write
Now that you’ve got your outline in fighting shape, it’s time to begin writing.
To make the best use of your time (and to make sure you don’t forget about any of the technical optimizations that will give your post a leg up), we recommend optimizing your content as you go.
- Long-Tail Keywords: If you included them in your outline, use them in your post where they fit naturally.
- Links: If you write about a topic that you’ve discussed in more depth in another entry, include a link.
- Visual Elements: Typically, blog posts benefit from imagery. This can be as simple as adding a crawlable table to replace dense paragraphs or as involved as creating an infographic that explores your topic visually.
- Schema Markup: If applicable, consider adding structured data (Schema.org markup) to your post once it’s written. For a how-to guide like this, a HowTo schema could outline the step-by-step structure for search engines; if you include an FAQ section, using FAQ schema can make your content eligible for rich results.
By writing content with users and SEO in mind, your content will rank and convert better than material that is solely focused on signaling its worth to a search engine.
In 2025, this integrated approach is crucial: search algorithms (and AI search results) are getting better at evaluating content quality and relevance on the fly. It pays to bake optimization into your content creation process, rather than treating it as an afterthought.
One more thing – don’t hesitate to leverage tools to assist as you write. Grammar and style checkers can polish your prose, and AI writing assistants can suggest alternative phrasings or even generate transitional sentences if you get stuck.
Just use these as support, not crutches. Your outline should keep you focused on the message and structure, and any AI or software should align with your voice and intent, not replace it.
Content Outline Tip: Not sure where to begin? Find the supporting section that you’re most excited or most knowledgeable about. If you start with something you know you can do, it’s going to make writing the next part a lot easier.
Blog Outline Template
We built this downloadable blog post outline template to use for all of your upcoming posts.

The structure is malleable enough to work with any of the post types that we mentioned above, as well as any other kinds of posts you write. Save a copy of it to your Google Drive and use it for all of the big ideas you want to write about.
Improving Your Content From the Start
Now that you understand how powerful a good outline can be, take a step back and examine the other characteristics of a great blog post. Ask yourself what areas you could improve on in your ideation and content creation process that will further showcase your expertise and engage readers.
A strong outline is the foundation, but factors like compelling introductions, clear calls-to-action, and thoughtful promotion also determine a piece’s success. Keep in mind that content marketing in 2025 is a blend of tactical execution and strategic insight. High-performing content is not an accident; it’s planned from the start.
By incorporating AI efficiently, leveraging data, and staying attuned to user intent, you’re setting your content up to succeed in a crowded landscape. And if your resources are low or you need a little help executing any of this, that’s where we come in.
Take a look at our content creation services to ensure your content is optimized to the fullest and primed to drive results.
3 Tips For Writing From an Outline
If you’ve never written from an outline before, it can be surprisingly difficult to know where to start or how to keep yourself excited about what you’re writing.
Don’t worry — here are a few quick tips on how to actually write your post once your article outline is complete.
Don’t Start With the Introductory Paragraph or the Conclusion
Much like the title, your introduction should come toward the end of your writing. You’ll naturally fill in gaps or create metaphors or similes that you can refine and expand as you write.
By waiting to write the intro, you can also introduce those extended metaphors in a way that makes the payoff better. This preps the reader and ties everything together from the first paragraph to the conclusion.
Stick to Your Outline Until You Shouldn’t
An outline only helps if it lets you write about an idea that is important to your audience. If the outline isn’t doing that, reexamine what you have and see where you’re stumbling; if you are bored or confused, your readers will be, too.
Sometimes it can be as simple as moving a supporting section or cutting it, but if nothing seems to be working, go back to the outline and see where you stumbled then try to find a different approach.
Keep Yourself — and, In Turn, Readers — Interested
Your writing is only going to be exciting to read if you’re excited to write it. Sure, some topics don’t seem like deep wells of energy, but if you lean into the connection you have with your reader you’ll notice that your writing is propelling itself forward.
If you feel bored, ask yourself one or more of the following questions and then include the answers in your post, or, at the very least, try to imagine how interesting your subject matter could be to someone who is starting from zero.
- What originally grabbed my attention about this subject?
- What story about this subject made me want to learn more about it?
- Is there a piece of writing from an expert in the field that sparked my enthusiasm?
Once you find something that hooks you back into the post, jump on it and ride that momentum. Repeat as needed and you’re sure to have a powerful, energetic piece of writing that will keep your readers interested until the last word.
Wrapping Up: A great blog post outline is the unsung hero behind most high-performing blog content. By integrating the latest best practices – from AI-assisted research and outlining to user intent focus and data-driven validation – you ensure that your outline (and the post that follows) isn’t just good on paper, but is primed to rank, engage, and convert.
Happy outlining, and happy writing!